How To Document Test Scenarios Using Trello
In the previous two articles, we learned how to write test scenarios for different types of applications. Now we need to document those scenarios using a management tool. When it comes to choosing the proper tool to document your scenarios, there are many options available. We chose Trello because it is free and easy to use. In this article, we will guide you step by step to be able to use Trello to document your test scenarios.
1) Registration
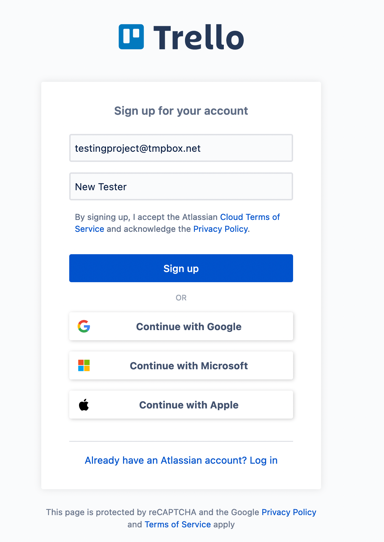
The first step to using Trello as a test management tool is to create a new account. Go to this URL https://www.trello.com and enter your email and full name.
2) Creating Workspace
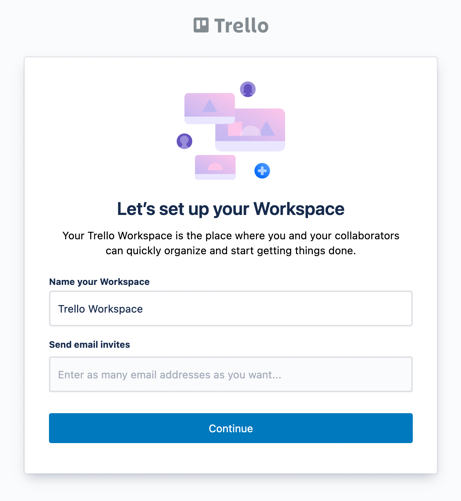
The next step is to create a workspace, the workspace is used to organize your work. Imagine that each workspace represents a team. So if you need to share your test scenarios with your team members, add them to your workspace. This will allow them to see any changes that are applied to boards in this workspace.
3) Create your first board
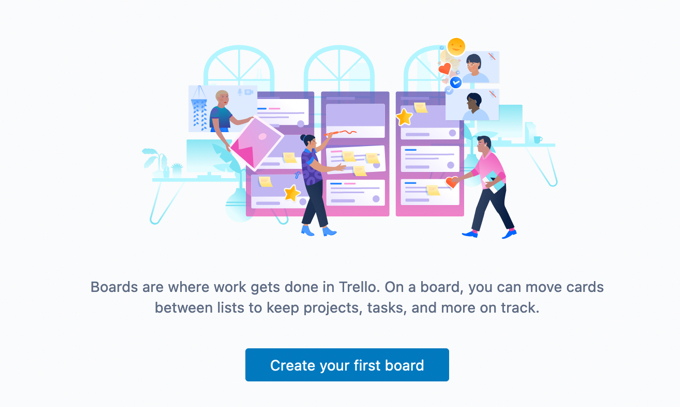
In Trello, each board is an independent work item. You can group all test scenarios for a specific project on one board.
4) Choose Board Visibility
When creating a board, you can set its privacy to either Private, Workspace visible, or public. Private means that only you can access this board. Workspace visible means that all members of this workspace can see and edit this board.
Public means that anyone on the internet can see your board “without editing it.” It is not recommended to make the board public unless you are using it for training purposes like we are doing now. So let’s create our board with the visibility “Workspace visible.”
5) Board hierarchy
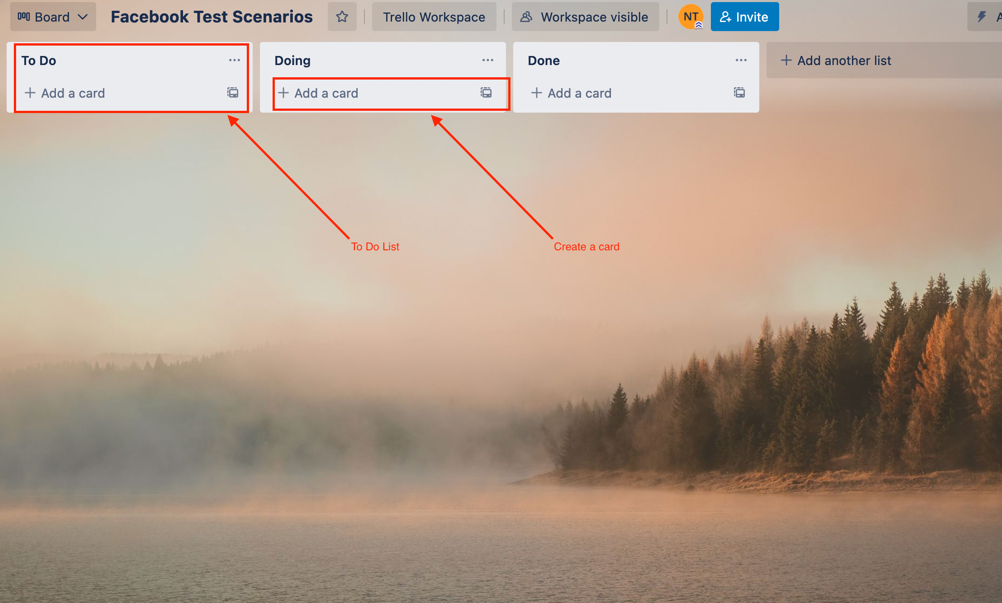
A Trello board consists of lists. Each list consists of cards, inside each card you can add your tasks, tests scenarios, defects, or any other thing that you want to do.
6) Change lists’ names
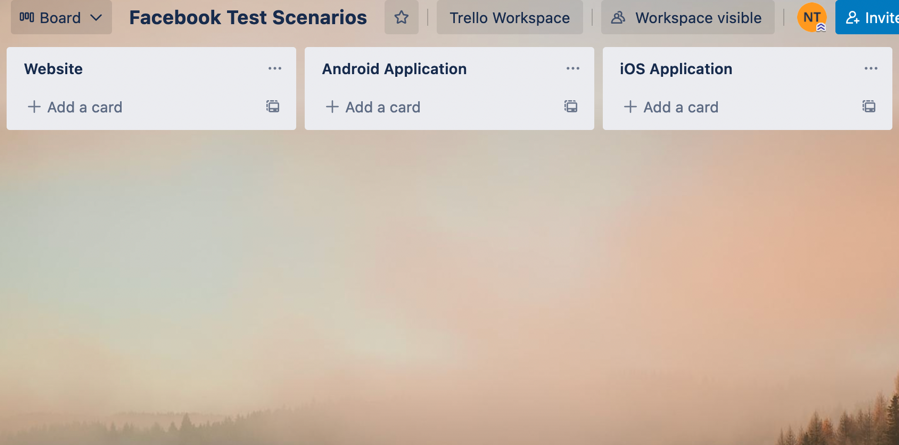
Lists in Trello are named To Do, Doing, Done by default. This is because Trello is originally a Kanban board that was used to manage tasks. Our goal now is to use Trello for a different purpose this is the reason why we should change the lists’ names. Let’s imagine that we have three applications: Website, Android application, and iOS application. We can create a list of the test scenarios for each one of them.
7) Creating cards for test scenarios
Then, we need to create cards for our test scenarios. Each card is considered a test suite or functionality that needs testing. We can create, for example, three cards: Sign up, Login, and Writing posts.

8) Adding a description to the card
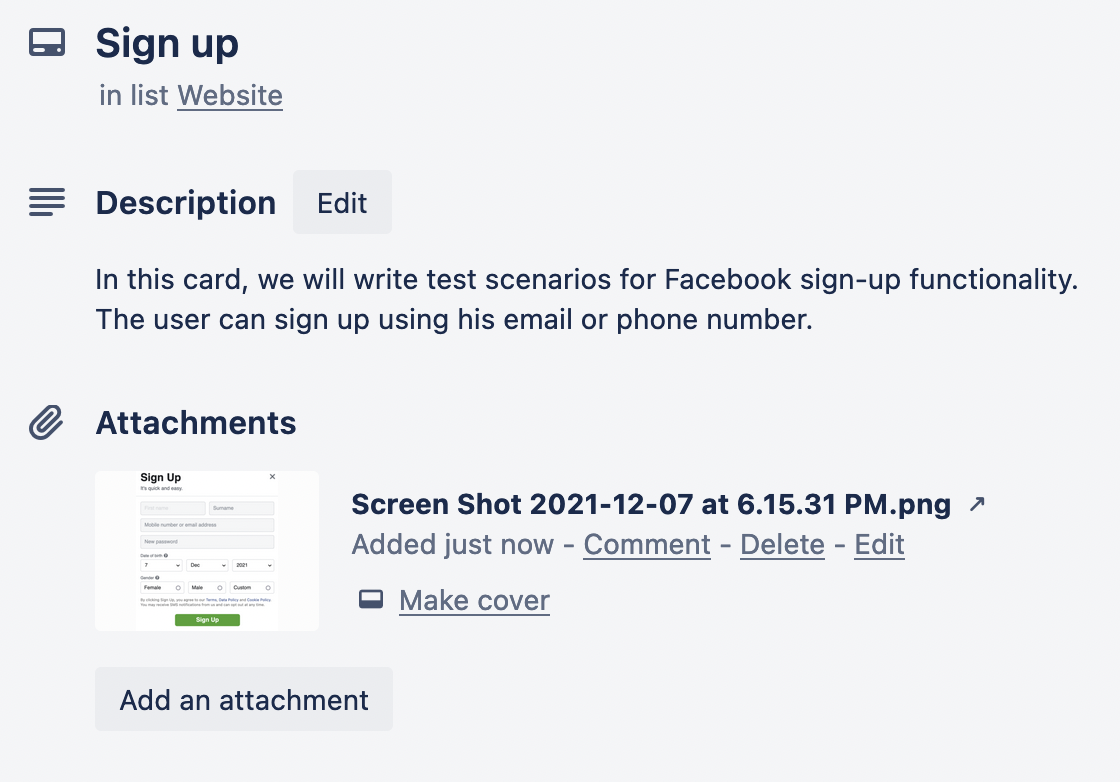
When you click on any card, it opens, and you can make changes to its content. In the description field, it is recommended to add the description of the requirement which this card tests. You can also attach a photo of any UI element that might help in writing test scenarios for this functionality.
The attachment can be added by clicking on “Attachment -> Computer” and then uploading the image from your computer. If the image is hosted online, you can add it by clicking on “Attachment -> Attach a link.”
9) Creating a checklist for your scenarios
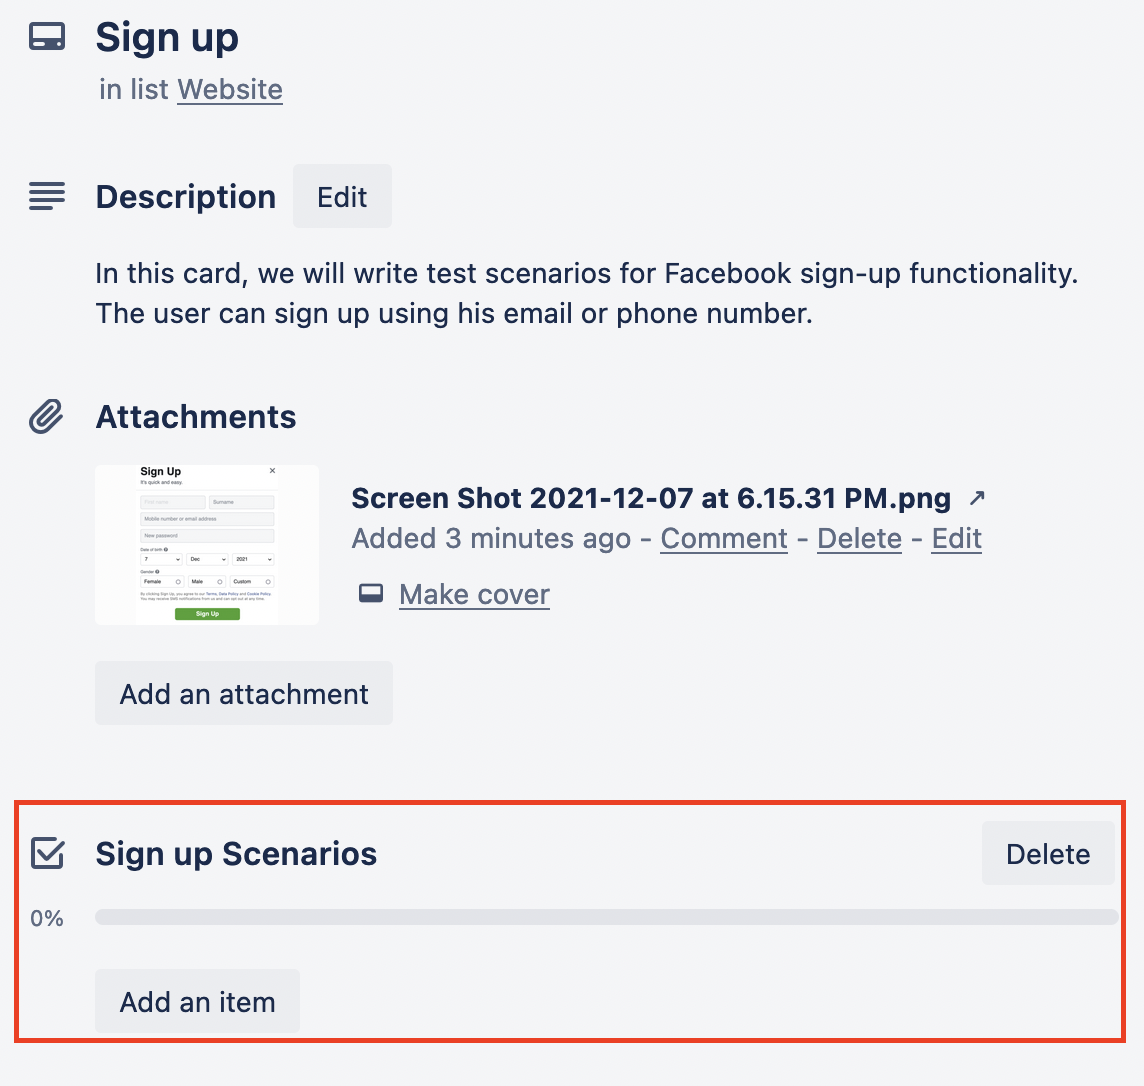
Now, you need to add test scenarios to your card. Click on the checklist, name the checklist and then click on add.
10) Adding scenarios to the checklist
Click on “Add an item,” and begin to add the test scenarios that we wrote in the last article to your list. This is how the checklist may look like after adding the scenarios.
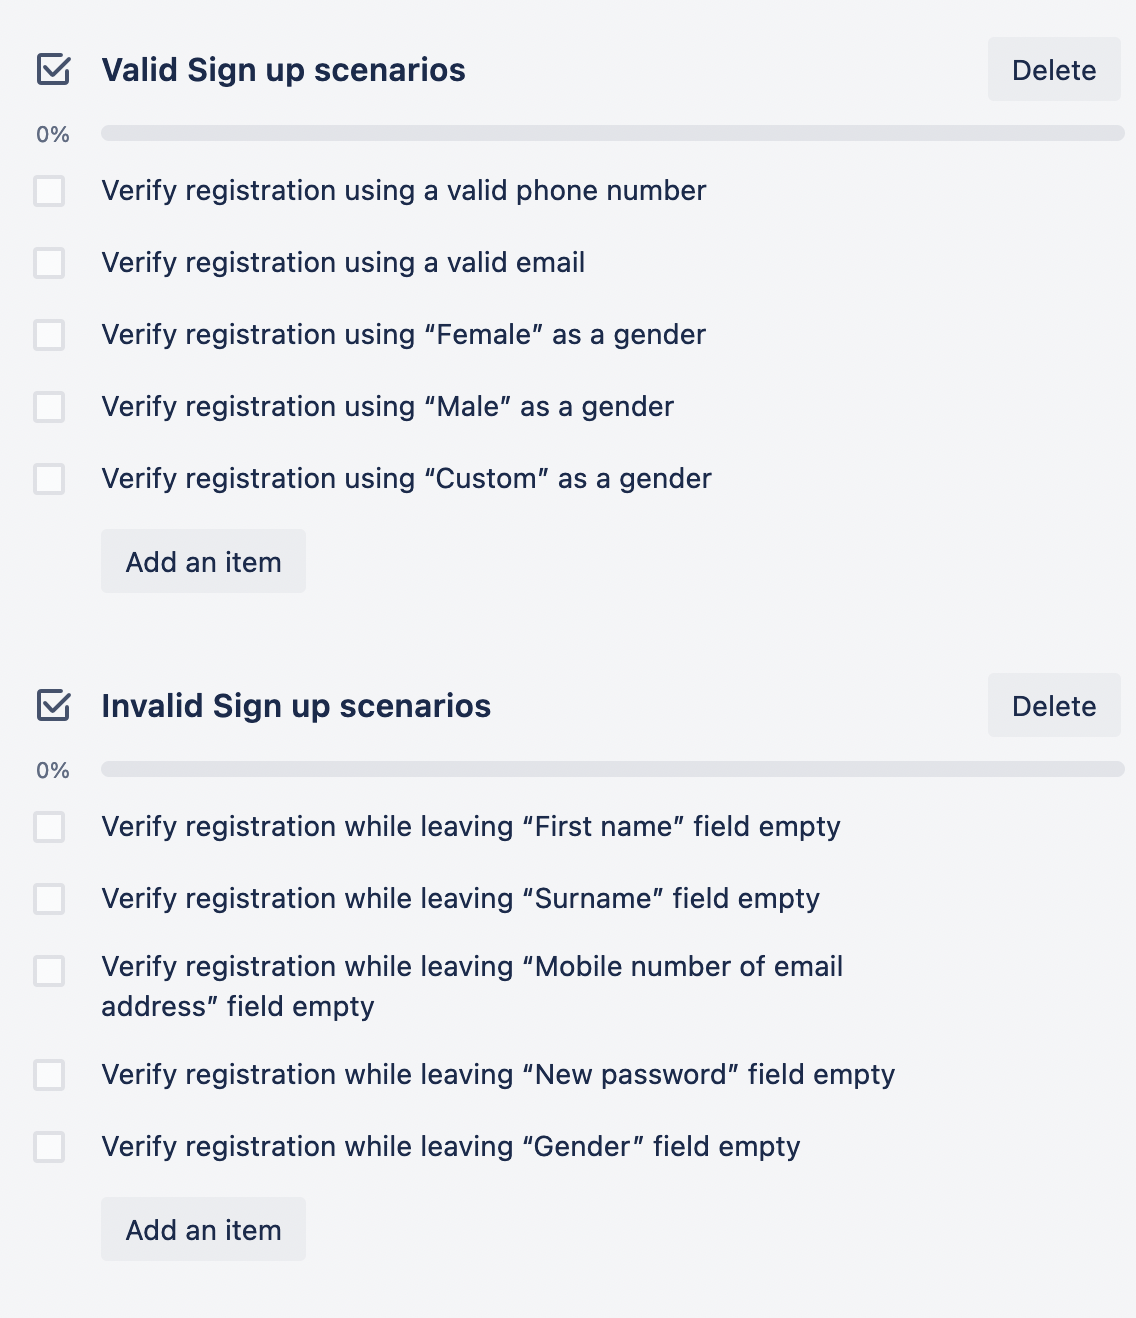
11) Execute your test scenarios
When the software is ready to be tested, you should begin executing your scenarios. Once you are done executing the scenario, click on the checkbox to mark the scenario as done. What is nice about Trello is that it tracks how much testing is done and shows it as a percentage as it appears in this image.
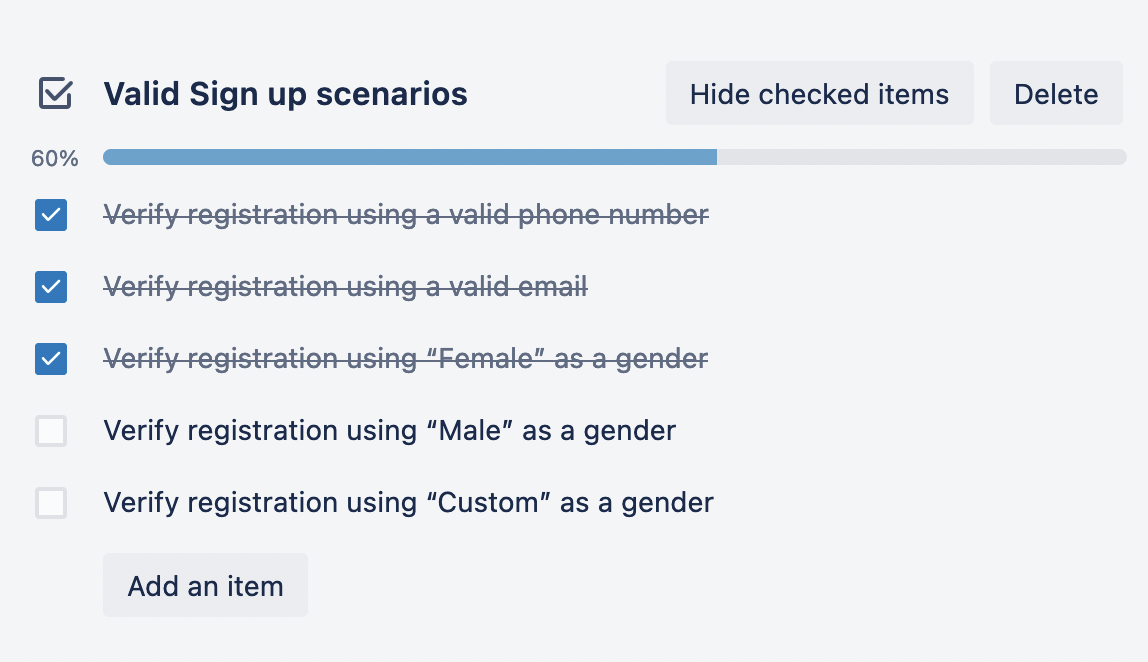
This is how the board looks like after you execute all scenarios for specific functionality.

Related Posts
Difference between Responsive Testing and Cross Browser Testing
Introduction to Performance Testing
Cross Browser Testing Explained
Your Guide To Get Started With Scrum Methodology
Agile Methodology: 4 Values and 12 Principles
How To Write A Defect Report
9 Types of Testing Every Tester Should Know
Seven Steps of Testing Process
Difference between Static and Dynamic Testing
7 Principles of Software Testing
Latest Posts
Difference between Responsive Testing and Cross Browser Testing
Difference between Responsive Testing and Cross Browser TestingWhat is meant by cross browser testing? Cross browser...
Introduction to Performance Testing
Introduction to Performance TestingIntroduction to performance testing Did it ever happen to you that you get to...
Cross Browser Testing Explained
Trying to test your website across different browsers can be time-consuming and error-prone. But with the help of these handy tools, testing your website in different browsers will become a lot easier!

